All Fish & Creatures — Rods & BaitHow to Fish — Fish & Creatures
Every catchable creature in How to Fish belongs to one island, and each one needs a specific rod and bait. This page is the complete list, grouped by island, so you can see what you can catch where and with what. It also covers the three things that sit on top of that list: which catches to keep for quests instead of selling, the Drip variants that make up the rare side of the collection, and the two completion achievements tied to them.
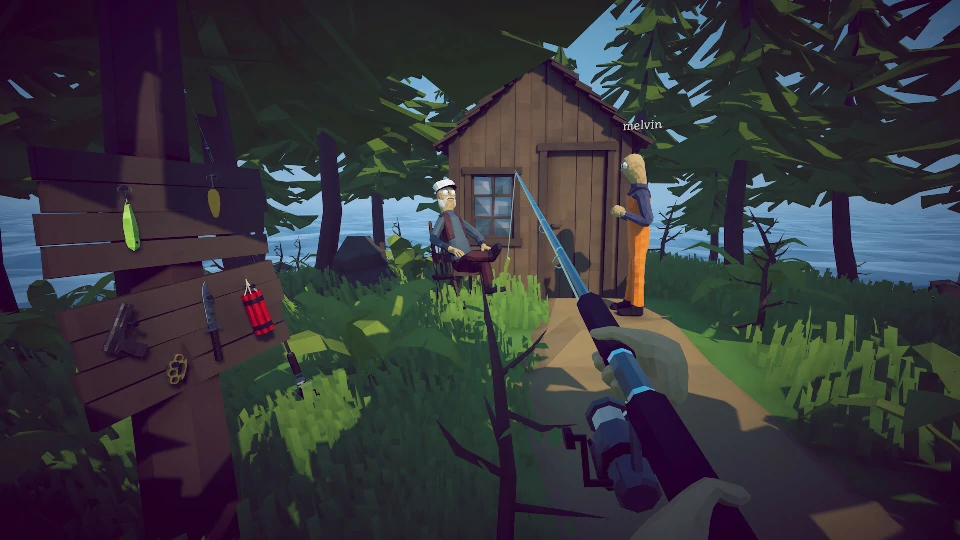
The arc controls how far and where your lure lands.
2
Wait for the bite
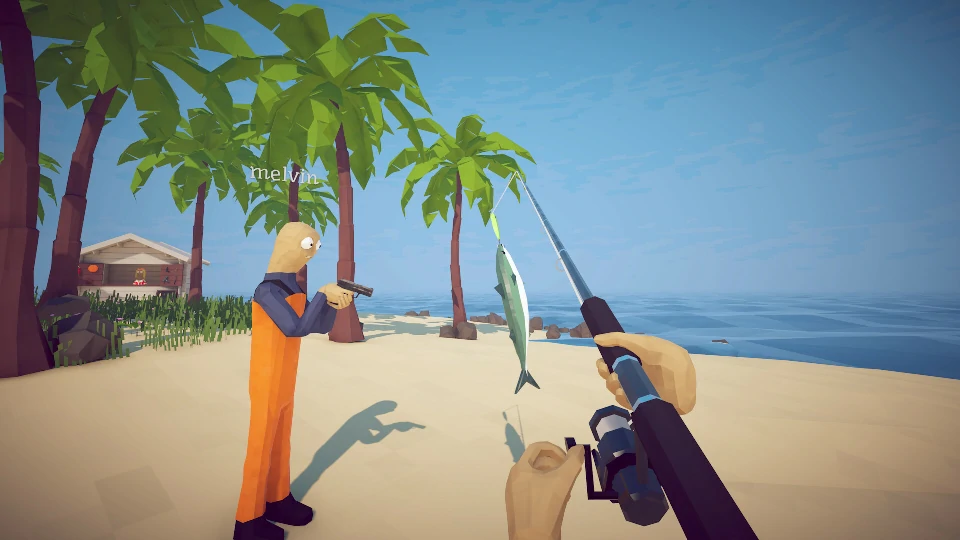
Hold steady and wait — when the bite comes, reel.
3
Reel in
Watch the tension indicator: if it pushes into the red zone and maxes out, the line snaps and the catch is gone.
4
Subdue it
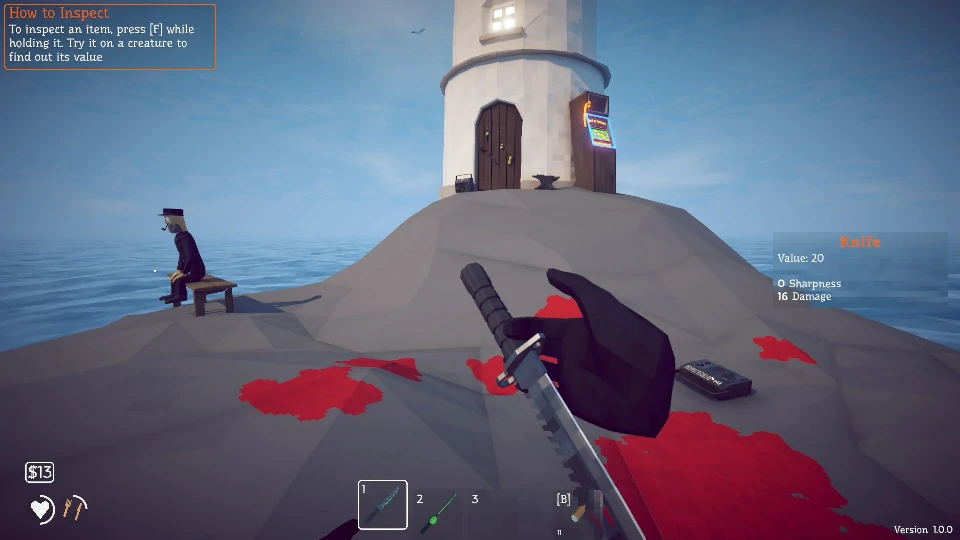
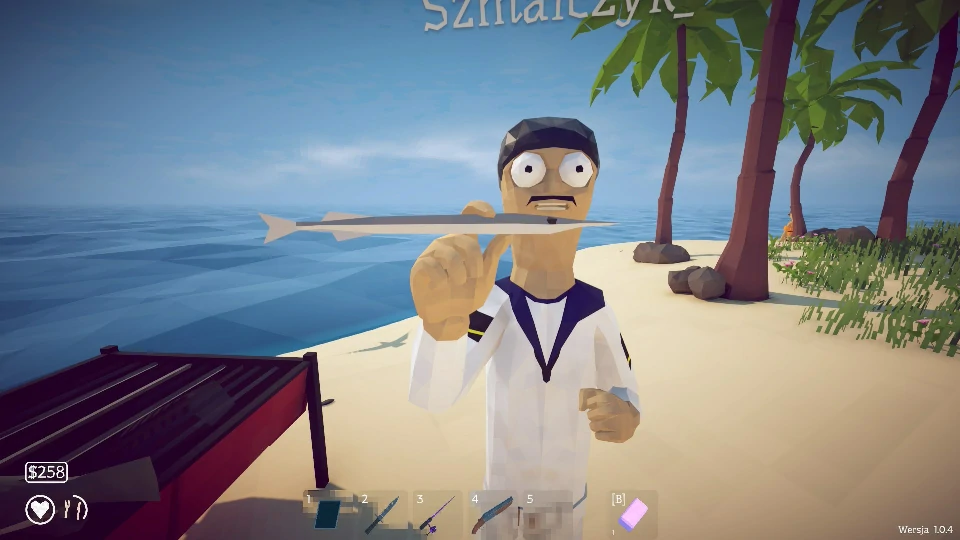
Once the creature is on land, it doesn't go straight into your bag — it flops around on the ground until you beat it into submission with your fists or a knife, and only then can you pick it up and sell it. Step four is the part newcomers miss.
Rods — three exist
Basic Fishing Rod(3 coins) — The starter.
Fishing Rod(upgrade tiers) — The main rod from Island 2 onward.
Crab Fishing Rod(—) — The rod used for the Lighthouse's crustaceans.
Free Lure / Hot Dog (1)Lighthouse and part of the Forest
Standard Lure (15)Desert
Professional Lure (50)Rocks
Scientific Lure (500)Volcano
From the Desert onward, each island runs on a single tier.
Where to buy each tier and how the pricing fits the economy are on the Economy & Gambling page.
The Fish, by Island
Lighthouse
Crab Fishing Rod
Three crustaceans, and the only island where you use the Crab Fishing Rod. The pool is nothing but crustaceans, so this is a pure warm-up — the free-bait fishing you do here is the easiest it gets all game.
Rock CrabFree Lure or Hot Dog
ShrimpFree Lure
LobsterHot Dog
Forest
Fishing Rod
Eight species, and the only island where the cheap starter baits still work at all. The Forest mixes the Free/Hot Dog tier with the Beginner Lure. After this island, free-bait fishing is over.
PiranhaHot Dog
MackerelFree Lure
GarFree Lure
PikeFree Lure or Beginner Lure
CodBeginner Lure
GoldfishFree Lure or Beginner Lure
PerchBeginner Lure
TriggerfishBeginner Lure
Desert
Standard Lure
Nine species, all on the Standard Lure. This is the first island where every single catch requires a bought lure — budget for the Standard Lure (15) before you set out, because nothing here bites the free stuff.
AngelfishStandard Lure
BoxfishStandard Lure
CatfishStandard Lure
Sea UrchinStandard Lure
SeahorseStandard Lure
ClownfishStandard Lure
BluegillStandard Lure
SalmonStandard Lure
NeedlefishStandard Lure
Rocks
Professional Lure
Nine species, all on the Professional Lure. Two species worth calling out: Voxelfish and Flying Fish, which you'll recognize on sight. This is also where the boss-tier Tuna comes from — that's on the Bosses page, since it's caught with a Boss Lure, not a regular one.
ParrotfishProfessional Lure
VoxelfishProfessional Lure
BassProfessional Lure
HalibutProfessional Lure
EelProfessional Lure
TigerfishProfessional Lure
Flying FishProfessional Lure
SengaratProfessional Lure
Red SnapperProfessional Lure
Volcano
Scientific Lure
Five species, all on the Scientific Lure — the smallest pool in the game, and the only island fishing on the 500-coin lure.
AnglerfishScientific Lure
BlobfishScientific Lure
OarfishScientific Lure
Superdwarf FishScientific Lure
StonefishScientific Lure
Gather Items (Not Fished)
Three things aren't caught with a rod at all:
Clam — Lighthouse shore
Pick it up and sell it to the Lighthouse Keeper for your first coins.
Mussel — Lighthouse shore
Selling three mussels finishes the tutorial.
Leech — Forest swamp
Give three to the Forest Lady; she turns them into the Modified Leech that summons the Giant Piranha.
Quest Fish & Required Catches
A few catches exist to be handed in, not sold. If the local NPC asked for something, keep it:
Needlefish — Desert
Give it to the Tourist, who trades you the Carrot that summons the Pufferfish.
Blue Shark — Desert, a boss catch
Bring it to the Grillmaster to unlock the grill.
Tuna — Rocks, a boss catch
It's the bait that summons the Albatross.
The Blue Shark and Tuna are covered as bosses on the Bosses page; the quest chain is on the NPCs & Quests page. The rule of thumb: check the NPC's request before you sell anything unusual.
Fish That Make Money
Per-species sell prices aren't published, so the practical levers are the two confirmed ones plus the big items:
Cooking
Cooking a catch on a grill or in volcano lava raises its value by roughly 1.5x before you sell.
Trick-shot kills
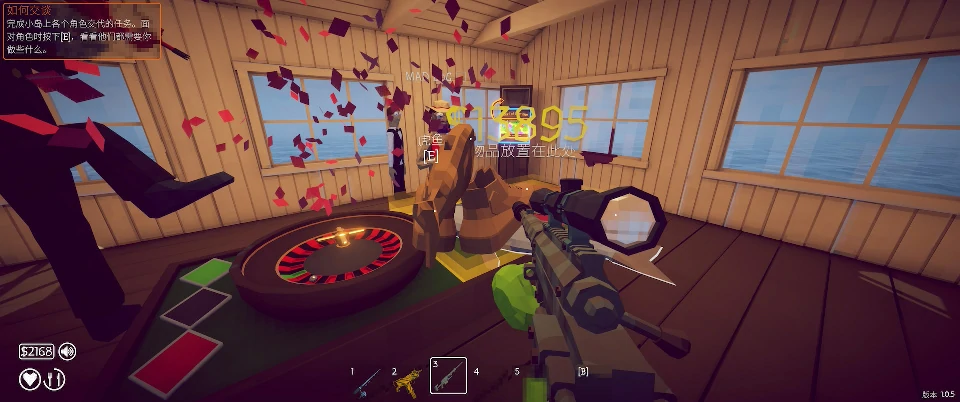
Shooting a fish out of the air, headshots, no-scopes — add a kill-score multiplier that pays bonus coins on top of the catch.
The big fish are where the money is
A single item can be worth 100,000 or more, which is the Rich! Millionaire achievement on its own.
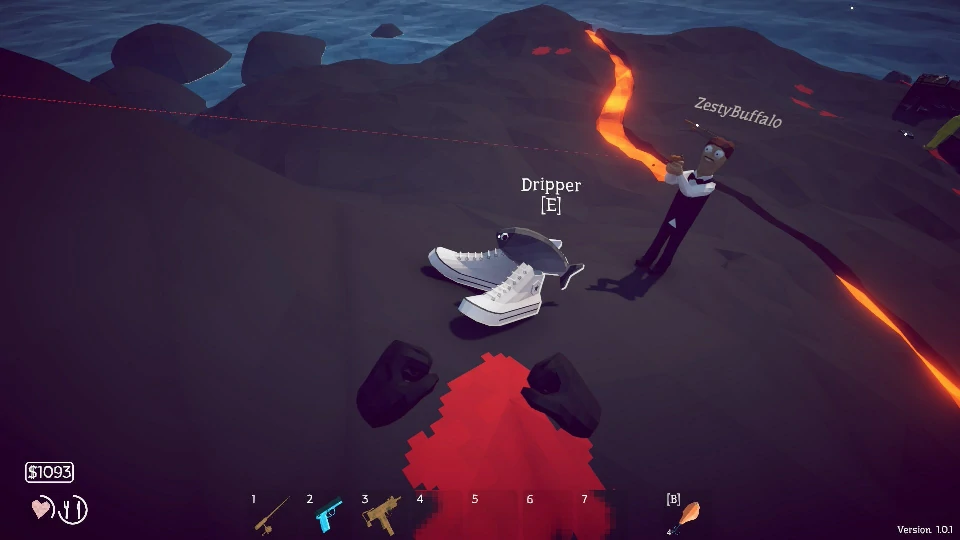
Most species can spawn as a Drip — a rare, differently colored shiny version of the same creature. It's not a separate species and you don't need anything special: same island, same rod, same bait, just a low chance at the recolor.
Drip Shrimp
the one you're most likely to see early
The collection book
The in-game book tracks your progress. Entries that are still silhouettes are creatures you haven't killed yet — and once the normal list looks complete, the gaps are almost always Drip variants you're still missing.
44 / 49
base creatures — where a normal playthrough ends
Collector & Fishipedia
Collector is killing every base creature — roughly 49 in total. Fishipedia is the harder one: killing every Drip variant. If you're hunting Drips, the reliable method is just repeating the same island with the same bait.
The completion rates tell the story:
~7%
Collector
~0.5%
Fishipedia
Both achievements are detailed on the Achievements page.
FAQ
Where do I find a specific fish?
Every species is listed under its island above. Each island has a fixed pool, so a Desert fish won't spawn at the Lighthouse.
Why won't a fish bite?
A rod or bait mismatch — the wrong bait, the wrong rod, or fishing in the wrong island's water. Match the rod and bait in the list for that island.
How do I get Drip variants?
Keep fishing or killing in that species' island. Drips are rare spawns of the normal species — same spot, same rod and bait, just a low chance at the shiny version.
What are the silhouettes in the collection book?
Creatures you haven't killed yet. If the normal list looks complete, the gaps are usually Drip variants you still need for Fishipedia.
Are the boss fish on this page?
No. The lure-summoned boss fish — The Old Pike, Blue Shark, Tuna, Goblin Shark, and Bowhead Whale — are on the Bosses page, with their Boss Lure triggers. Bosses